personalized timber lettering woodworking shop sign carpenter door art logging sign sticker 12839
Shop Now To Avoid Holiday Delays!

Trustpilot
From: USD 40.82
personalized timber lettering woodworking shop sign carpenter door art logging sign sticker 12839
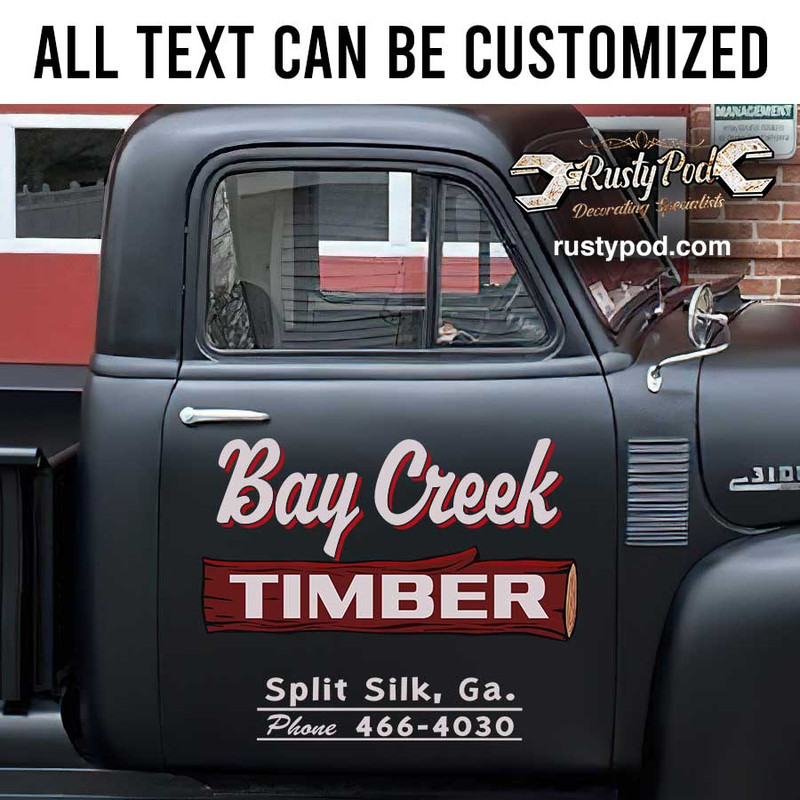
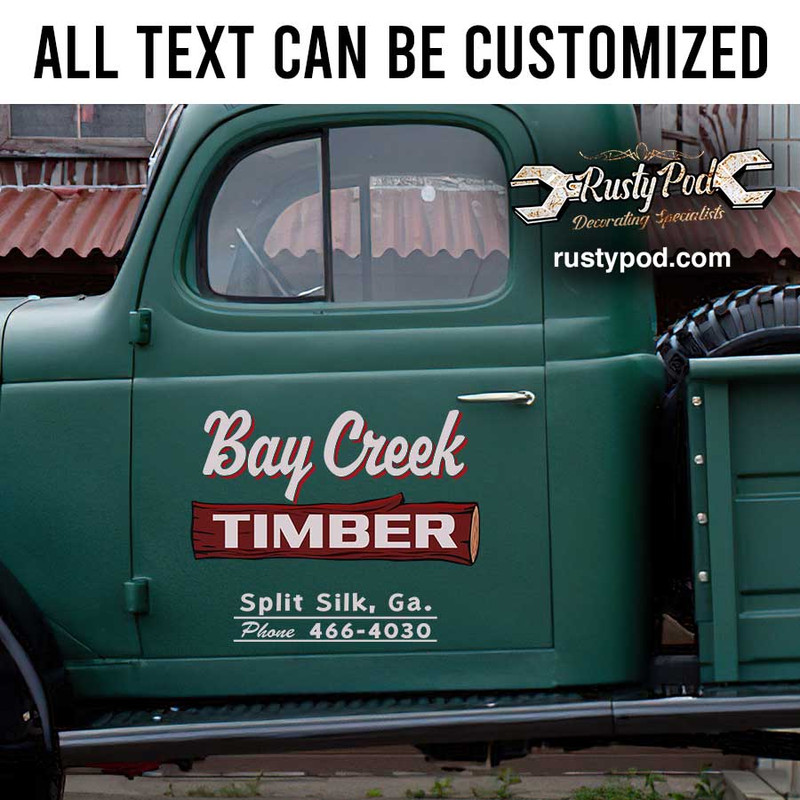
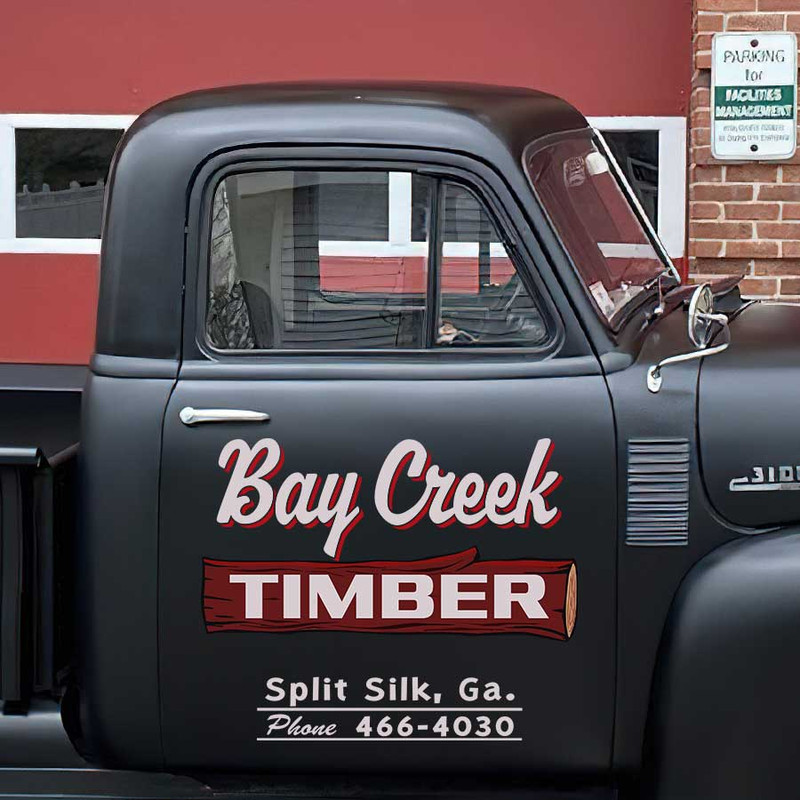
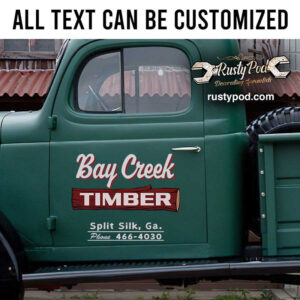
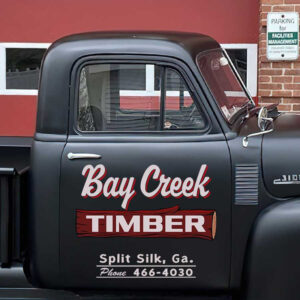
The personalized timber lettering woodworking shop sign carpenter door art logging sign sticker features high-quality UV printing on durable vinyl panels, ensuring exceptional durability and resilience against environmental factors. It is safe for use on vehicle surfaces and designed for easy application. The personalized timber lettering woodworking shop sign carpenter door art logging sign sticker can be customized to match customer preferences, including an optional contour cut, which eliminates excess decal for a painted-on effect. It is versatile for use on cars, motorbikes, glass doors, and more, making it ideal for personal expression or brand advertising. Additionally, personalized timber lettering woodworking shop sign carpenter door art logging sign sticker designs can be applied to apparel such as shirts and mugs, offered at affordable prices with quick shipping. Explore our variety for personalized timber lettering woodworking shop sign carpenter door art logging sign sticker and find more designs about woodworking sticker that you may like.
Product Information
Utilizing high-quality materials and advanced printing technology, these decals securely adhere to surfaces and are resistant to weather-induced fading. Rest assured, they are designed to last up to 3 years. Installation is a breeze, taking just 5 minutes to apply without the need for expensive tools. Plus, if you decide to change your look, the decals can be easily removed without leaving any marks on your painted surfaces. Our professional design team meticulously edits each product before printing to ensure you receive a high-definition image that meets all your specifications.
Our vinyl decals/stickers are ideal for advertising on smooth surfaces such as helmets, signboards, cars, motorcycles, and fishing boats. These are not your $1 stickers or a variety of cheap screen prints that start to peel and fade within a few weeks. Know the difference!
- Vinyl: Made from premium vinyl material, the decals provide excellent adhesion even under challenging conditions like rain or direct sunlight
- Printing Tech: Thanks to our state-of-the-art UV printing technology, we can offer an unlimited range of colors. This technology ensures exceptional print quality and resistance to weather-related fading.
- Install with ease: our decals can be effortlessly adhered to surfaces using simple tools like soapy water and a plastic card. When you decide to remove them, they won’t damage or leave marks on the painted surface they were applied to. This sets our product apart from less expensive alternatives in the market.
- Contour Cutting/Trim means that the decals are printed with an outline hugging the design. Meanwhile, with no contour cut, the outline will be a rectangle instead.
- The distance from the outline to the outermost edge of the decal’s design is approximately 2-3cm.
Size Range: Our decals range in size from 6×6 inches up to 42×72 inches.
Measure Before Ordering: Before placing your order, measure the area where you plan to apply the decal. Enter these dimensions on our product page, and our design team will adjust the design to fit your specified size.
Size Recommendations:
- Up to 10×10 inches: Ideal for helmets, laptops, and motorcycle fuel tanks.
- 21×21 to 30×30 inches: Suitable for car doors and hoods.
- Above 36×36 inches: Best for boats and large advertising signs.
Please watch our tutorial video below for clearer instructions
- Clean the target surface carefully and make sure the surface doesn’t remain any dust.
- Add Soap Water to wet the surface and back of the decal
- Apply the decal onto the surface, and reposition the decals carefully, the water makes it easier to move the decal. Make sure the decals stay exactly where you want before the soap water dried out.
- Put pressure on the decal from in to out. This will remove air and water under the decal.
- Apply heat on curves and corners to stretch the decal
Note: For curved surfaces, you need a hair dryer to heat the decal, then use your hands or a cloth to put pressure onto the decals so that they stick to the surface. Heat sometimes will help the process achieve the best result. Tutorial video:
- Production time: Please allow 2-3 days to receive a tracking number while your order is hand-crafted, packaged and shipped from our facility.
- Shipping time: Shipping time depends on product and recipient's address. This time may be longer on major holidays. This time is from the date that it is shipped out, not the day the order is placed. Normally, shipping time is 14 - 21 days. Besides, we provide express shipping service with delivery time from 7-10 days.
- Return & Exchange: If for some reason you are not happy with your purchase, we will happily work with you to correct the problems.
- Tracking Number: When available, we will send you the tracking number with the confirmation email so that you can track the package online.
- If you have any other queries, please feel free to email us: [email protected]
Guide to Personalizing Your Product on Rustypod
Step 1: Enter Personalization Details
Begin by filling in the personalization details in the provided blank fields on the product page. This may include names, dates, or specific messages you wish to add to your product.Step 2: Preview Your Personalization
Once you have entered all necessary details, click the 'Preview' button. This allows you to check if the information you've input is correct and complete.Step 3: Requesting Custom Changes
If you wish to alter details such as color, font, or other specifics, please note your requirements either on the payment page or via an email to us. Our email address for such requests is [email protected]. For custom requests, we always provide a preview copy for your approval before proceeding to production.Special Note on Instant Previews:
Please be aware that some personalized products may not offer an immediate design preview due to their complexity. For these products, you will need to wait up to 12 hours for us to modify and send a preview for your approval.Need Additional Help?
If you require further assistance or have questions regarding the personalization process, please do not hesitate to reach out to us at [email protected].Be the first to review “personalized timber lettering woodworking shop sign carpenter door art logging sign sticker 12839” Cancel reply











Reviews
There are no reviews yet.