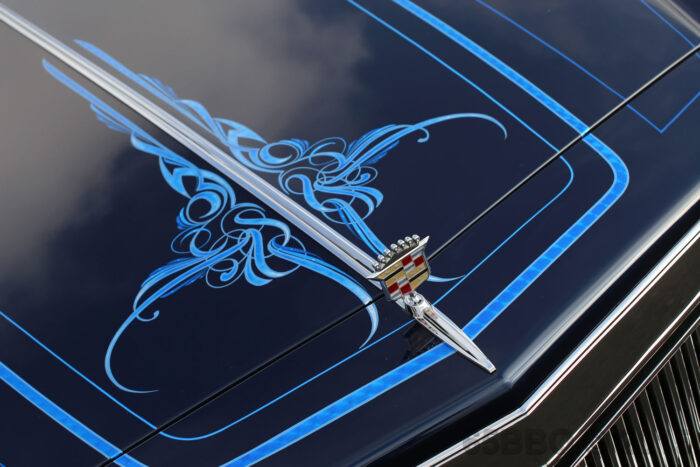
Unique Pinstriping Designs
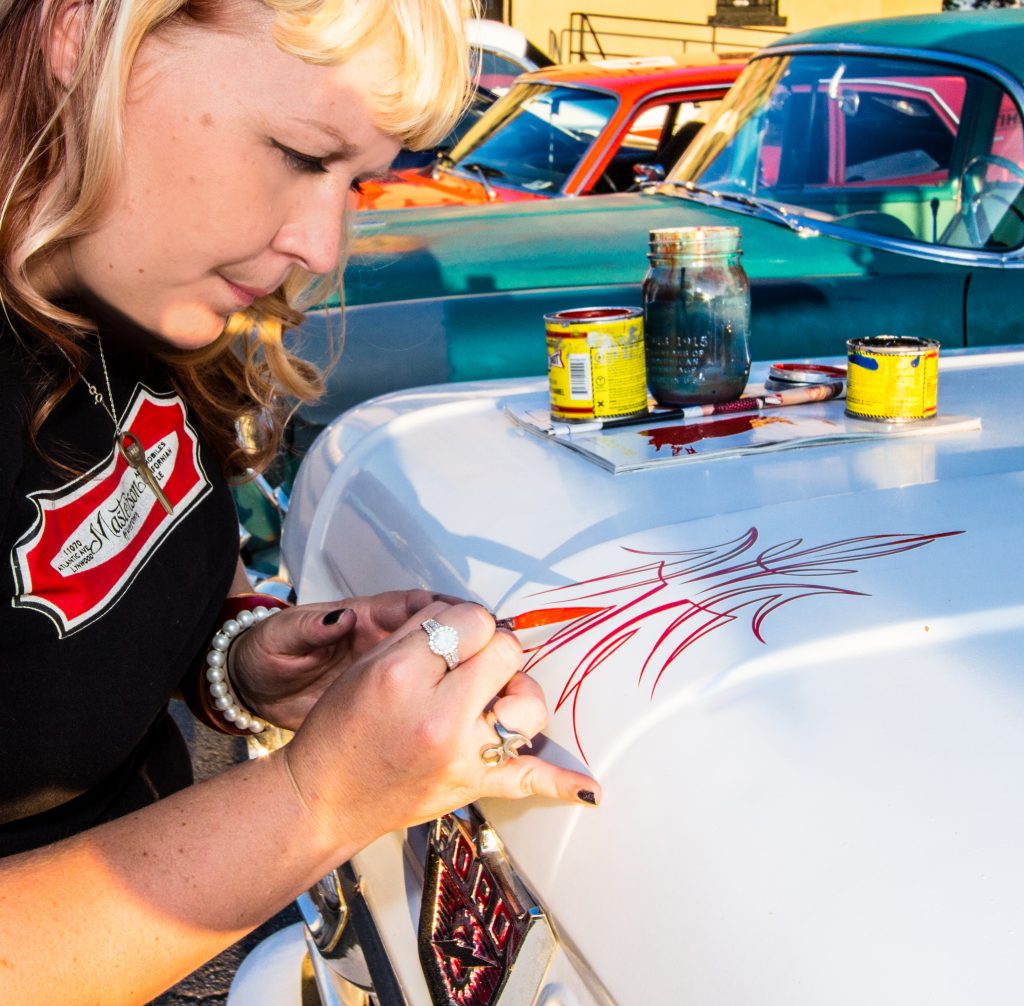
If you’re a fan of hot rods, vintage cars, and custom culture, then you’ve probably heard of pinstriping. This intricate art form involves using a thin brush to create intricate designs and patterns on the body of a car.
Pinstriping has been around for over a century and is a popular way to add a personalized touch to your ride. In this article, we’ll explore the art of pinstriping and share some tips and tricks for creating unique designs on your car.
1. Choosing the Right Brushes
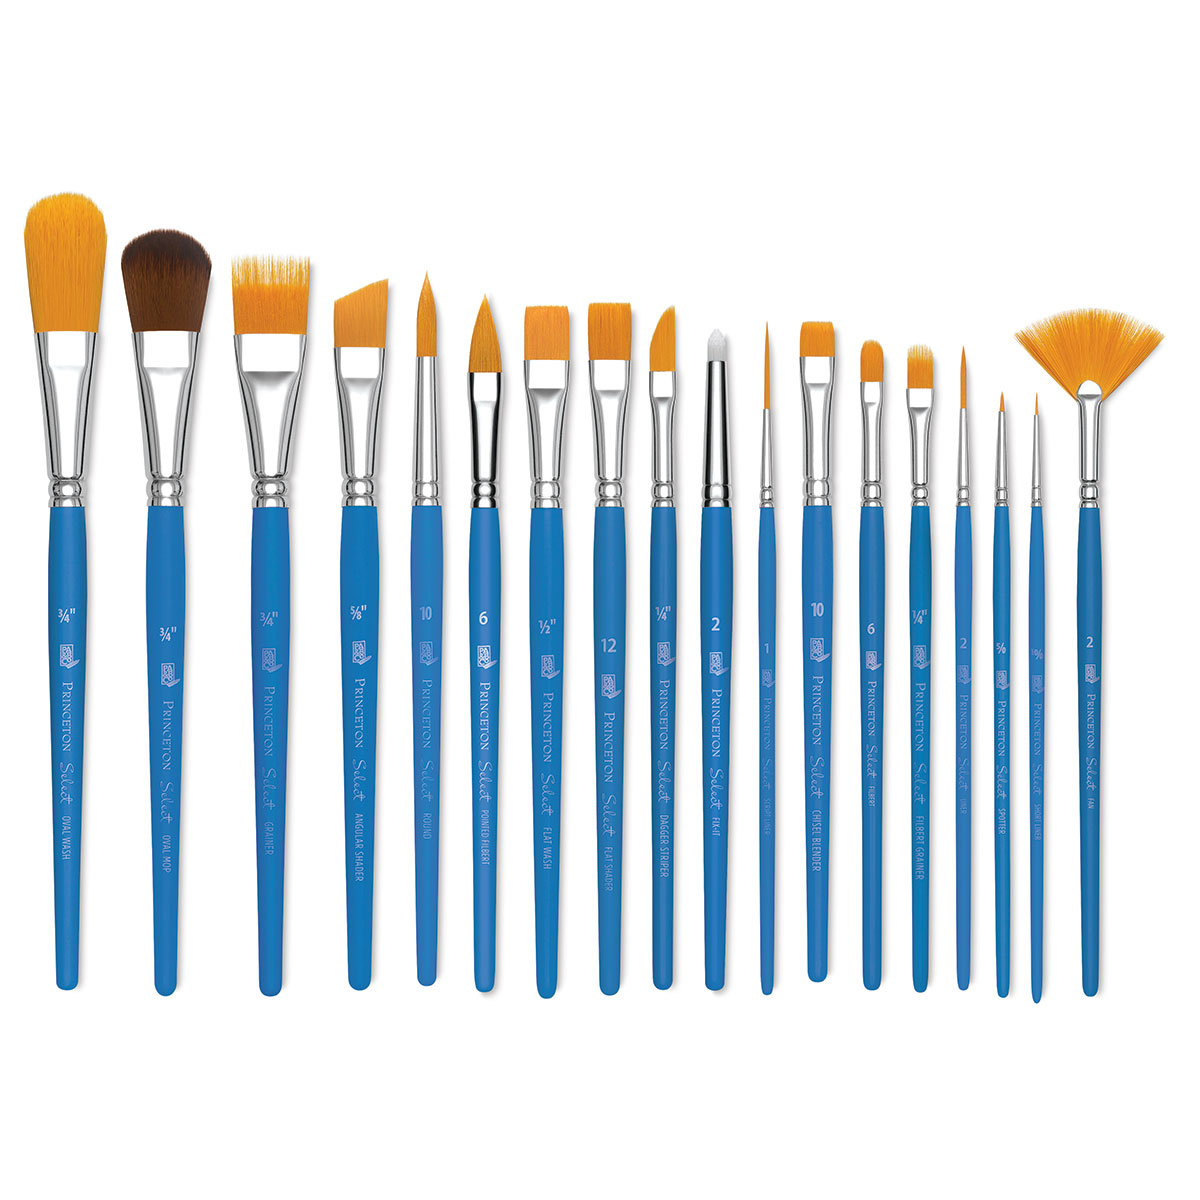
Choosing the right brushes is an essential step in creating a great pinstriping design. Pinstriping brushes are typically made from natural hair, such as mink or squirrel, and come in a variety of sizes. Natural hair brushes are preferred over synthetic brushes due to their ability to hold more paint and produce better results.
The size of the brush you choose will depend on the size and complexity of your design. For intricate designs, smaller brushes are recommended as they provide better control and precision. These brushes typically range from 00 to 1 in size. They are ideal for creating fine lines, curves, and sharp edges.
For filling in larger areas or making broader strokes, larger brushes are better suited. Brushes in the 2 to 6 size range are commonly used for this purpose. These brushes provide wider strokes and can hold more paint, allowing for efficient coverage of large areas.
When selecting brushes, it’s important to consider their shape as well. Pinstriping brushes come in a variety of shapes, including flat, round, and dagger. Flat brushes are ideal for creating straight lines and sharp edges, while round brushes are better suited for curves and intricate designs. Dagger brushes are a combination of flat and round brushes and are ideal for creating tapered lines and edges.
2. Preparing the Surface
Preparing the surface is a crucial step in the pinstriping process. Before beginning any painting, it’s essential to clean the area where you’ll be working thoroughly. Any dirt, grease, or grime can affect the quality of your work, so it’s best to use a quality cleaner to remove all impurities.
If you’re working on a car with an existing paint job, you’ll need to sand down any rough spots or imperfections before you begin pinstriping. Sanding will help create a smooth surface, ensuring that the paint adheres well and looks uniform. It’s important to use the appropriate grit sandpaper for the job to avoid causing any further damage to the paint.
If you’re starting with a new car or a freshly painted surface, it’s still essential to clean and prepare the area. Any leftover debris, dust, or dirt can cause problems when applying the paint, so it’s best to use a tack cloth or air compressor to remove any particles.
3. Creating Your Design
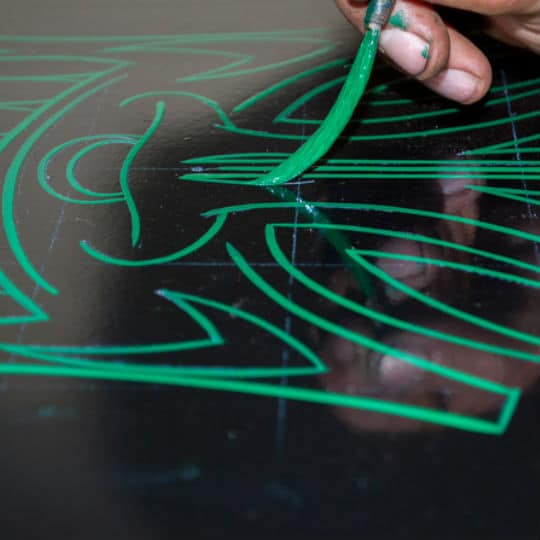
Once you’ve chosen your brushes and prepared the surface, it’s time to start creating your design. There are countless design options when it comes to pinstriping, so it’s important to have a clear idea of what you want to achieve before you begin. You can find inspiration for your design in a variety of places, such as online galleries, car shows, and magazines.
One of the most important aspects of creating a great pinstriping design is to have a steady hand. This takes practice, so it’s a good idea to start with simple designs and work your way up to more complex ones. Remember, the beauty of pinstriping is in the details, so take your time and pay attention to every stroke.
4. Choosing Your Colors
Pinstriping designs can be created using a variety of colors, but it’s important to choose colors that complement your car’s existing paint job.
One popular option for pinstriping is to use metallic or pearlized paints, which can add depth and texture to your design. These paints are available in a variety of colors and can create a unique and eye-catching look.
If you’re not sure which colors to choose, consider seeking advice from a professional pinstriper. They can help you choose colors that will work well together and provide guidance on color combinations that complement your car’s paint job.
Another thing to keep in mind when choosing your colors is the contrast between the colors. It’s best to choose colors that provide enough contrast to make your design stand out. This will ensure that your pinstriping is visible from a distance and adds to the overall aesthetic of your car.
5. Finishing Touches
Once you’ve completed your pinstriping design, it’s important to add some finishing touches to protect your work. This involves applying a clear coat of paint or sealant to protect the design from the elements. You can also add some extra shine by buffing the area with a soft cloth.
Pinstriping is a timeless art form that adds a personalized touch to any car. By choosing the right brushes, preparing the surface, creating your design, choosing your colors, and adding finishing touches, you can create a unique pinstriping design that showcases your individual style. Remember, practice makes perfect, so don’t be afraid to experiment and have fun with this exciting art form.
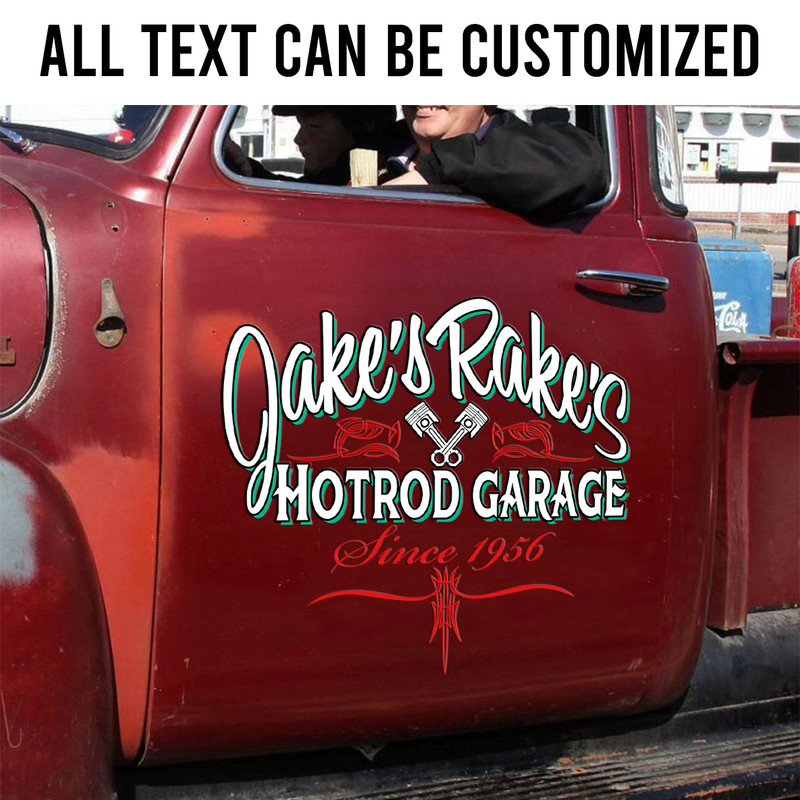
Also if you can choose products that replace car painting with stickers, for example pinstripe stickers, they are completely easy to use and can be replaced anytime you want.